 |
| 1. Cut a 5.25" square out of background paper. 2. Cut a 5.25"x4.25" rectangle out of paper you'd like to make up the pocket; then, using a stencil (or freehand, if you're brave!), cut a semi-circle out of the top. 3. Cut a 4.25"x4.25" square for the card insert. |
 |
| 4. Attach several 1.5" lengths of ribbon with a button. You're done with the card insert! Set it aside. |
 |
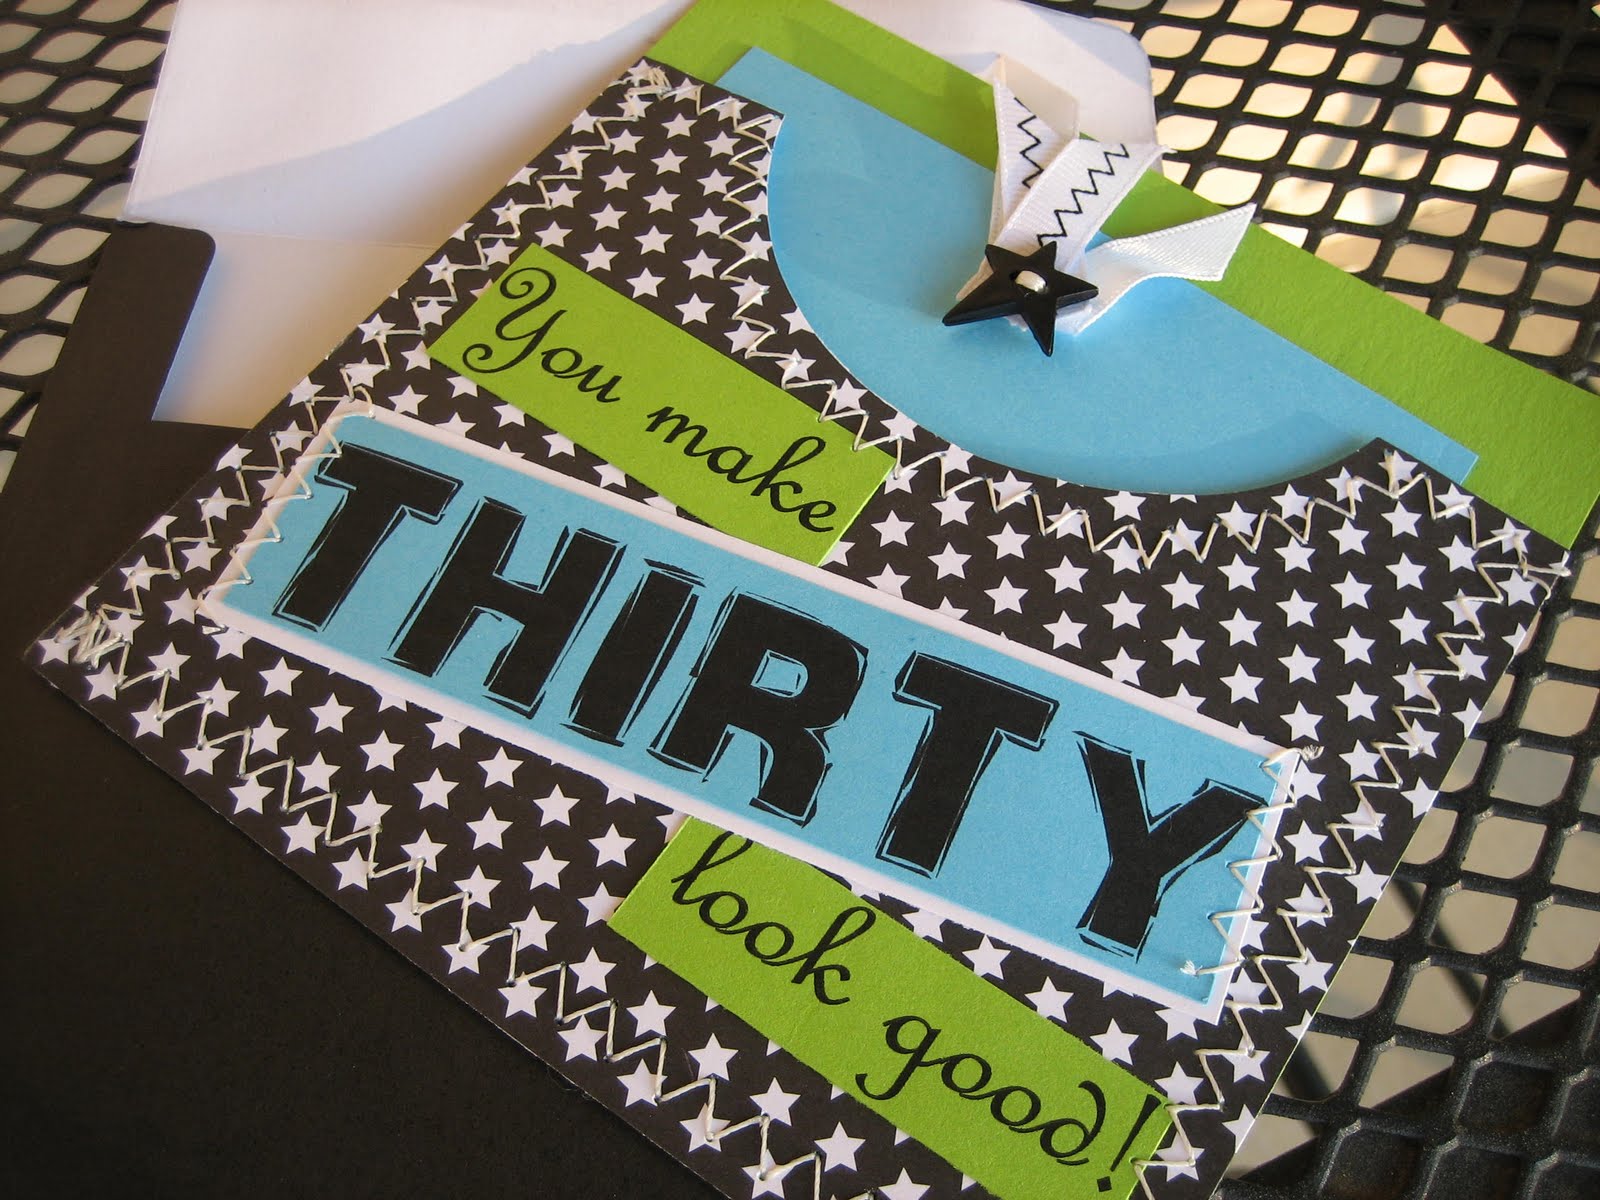
| 5. BEFORE attaching the pocket to the base of the card, use your sewing machine to zigzag stich the TOP of the pocket (where the semi-circle is). I used upholstery thread. *The card insert should NOT be behind the pocket piece while you stitch (as pictured), unless you want your friend to be unable to remove the card! |
 |
| 6. If any of the greetings for the front of the pocket require stitching, do so now. I put a few photo squares on the back of the greetings I stitched, just to hold them in place while I sewed. 7. After you've attached your greetings, use a dot adhesive runner or photo squares to adhere the edges of the pocket to its backing. This will hold the pocket in place while you sew. 8. Zigzag stitch around the sides and bottom of the card. Tie any loose ends of thread behind the card. |
 |
| 9. On the back of the card, add a little "made by" embelishment or stamp. |
 |
| 10. Slip the card insert inside the pocket. Voila! You have a handmade card, ready to give to your friend. |
Other Variations
 |
| Wedding Congratulations Card |
 |
| Bright and Sunny Birthday Card |
1 comment:
I miss your blogging :D
Post a Comment